I’ve been banging my head against the wall with this today. I wanted to setup Letsencrypt / Certbot to auto-generate a wildcard certificate that also auto-renews. The problem is that you manually have to set a TXT record in your DNS. If you host your DNS on the same server that is also the web server this is fairly easy and there’s plenty of guides available. The problem started when I tried to figure out how to do it with an external DNS server, in my case NameCheap.
To generate a wildcard certificate, you will need to use the DNS-01 challenge type which is used to make sure that have access to the DNS server for your domain. As mentioned already this is verified by a DNS TXT record (in particular this TXT record looks like this: _acme-challenge.BLA.com ).
Here are the steps I took in order to generate an auto-renewing SSL certificate for Letsencrypt (Certbot) with an external DNS:
Step 1: Install packages and Certbot DNS plugin
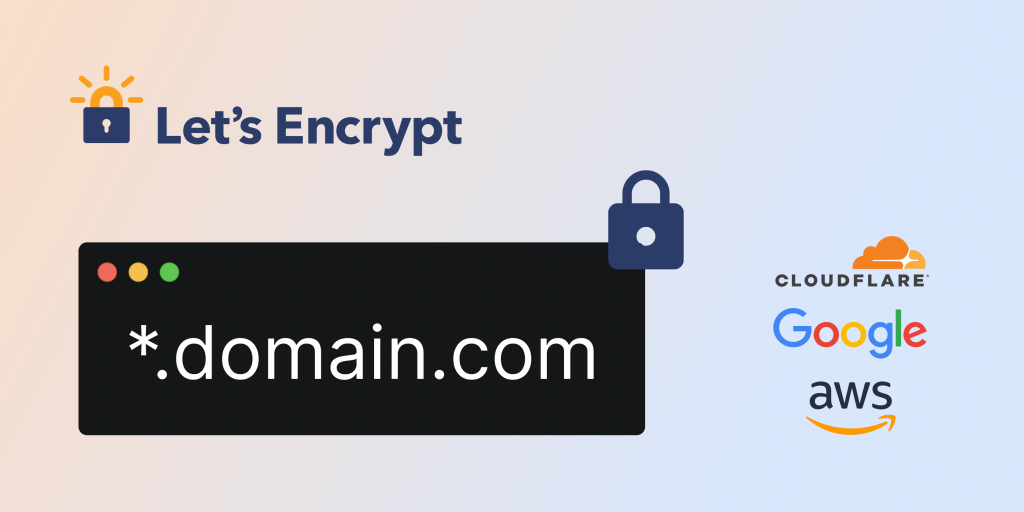
First, you need to install Certbot and the Certbot DNS plugin for your DNS provider. There are plugins available for all kind of DNS providers (Cloudflare, Google DNS, AWS Route53, are just a few of the popular ones).
See:
https://certbot-dns-route53.readthedocs.io/en/stable/
https://certbot-dns-cloudflare.readthedocs.io/en/stable/
https://certbot-dns-google.readthedocs.io/en/stable/
Those plugins allow Certbot to automate the process of adding the DNS TXT record for the DNS-01 challenge. Let’s say you’re using AWS Route53, you would install the Route53 plugin:sudo apt-get install certbot python3-certbot-dns-route53
Step 2: Fetch your SSL Certificate
Then you can run Certbot with the DNS plugin to fetch the certificate:sudo certbot certonly --dns-route53 -d "*.yourdomain.com"
If you use a different DNS provider replace it with your plugin.
Step 3: Where to find your SSL Certificate
Certbot then automatically adds adds the TXT records and validates the domain. Once it’s done, your wildcard certificate will be stored in here: /etc/letsencrypt/live/BLA.com-0001/
Important: If you’ve already have generated a certificate for the base domain (e.g. bla.com) then the certificate will be in the directory with -0001 at the end.
You now have to update your Nginx config to use the correct certificate. For example this could be in your Nginx vhost file
Path might be something like this: /etc/nginx/sites-available/all.bla.com.conf
ssl_certificate /etc/letsencrypt/live/bla.com-0001/fullchain.pem; # managed by Certbot
ssl_certificate_key /etc/letsencrypt/live/bla.com-0001/privkey.pem; # managed by Certbot
Step 4: Auto-renewal with Cronjob
The beauty of this is that Certbot will automatically setup a cron job to renew the certificates before they expire. There’s a small helpful command to do a test run for this though: sudo certbot renew --dry-run
That’s really it, hope this helps you guys 🚀