Did you also get hit with a command not found: openai error? Let’s figure out how to install the OpenAI CLI and how to fix this issue.
Throughout the past week I’ve been dabbling with OpenAI and ChatGPT. My goal was to fine tune a model with our existing Intercom customer support chat history to potentially enable a bot to reply or suggest replies. After writing a script that would export all of our conversations from Intercom I wanted to start fine tuning the model. I was following this tutorial here: https://platform.openai.com/docs/guides/fine-tuning, which required me to install the OpenAI CLI. Weirdly I couldn’t get this to work and the instructions weren’t very clear on how to get it going.
Disclaimer: I’m not a massive Python geek… I know my way around pip and Python but I’m certainly not an expert.
The issue
In the OpenAI documentation the instructions literally just state to run:
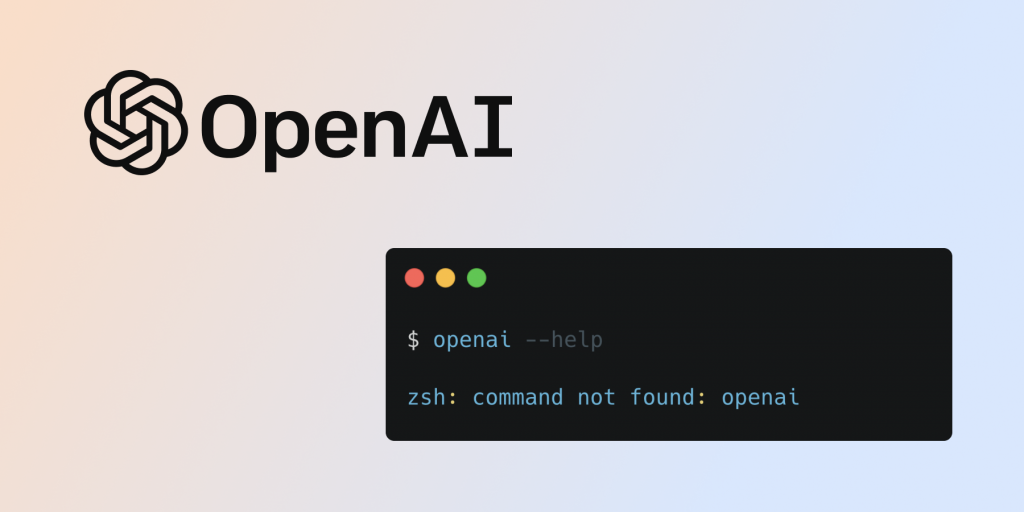
pip install --upgrade openaibut after running that, I tried to execute openai --help and was greeted with the following error 😪…
zsh: command not found: openaiI’m on MacOS 13.3 and it gave me back a command not found error for the openai command.
So I had to dig my way through installing the OpenAI CLI properly. Here’s how I did it.
Installing the OpenAI CLI on MacOS
In order to properly install the OpenAI CLI on Mac you need to first make sure a few requirements are met.
Install Python3
The first thing you need to do is make sure that Python is properly installed on your Mac.
To check if you already have Python3 installed run the following command:
python3 --versionIf this gives you back the Python version, then you’re good to proceed to the next step.
Otherwise I would recommend you to install Python using homebrew:
brew install python3Afterwards you should double check if the installation was successful by running python3 --version.
Install OpenAI CLI with pip
The OpenAI documentation says to run pip install --upgrade openai but since we’re using Python 3 we need to adjust this a bit.
Run the following command to install the OpenAI CLI
pip3 install --upgrade openaiIf you now run openai --help you will still get an error message, telling you command not found.
The next step is to make the Python OpenAI script executable and add it to our path.
Make the OpenAI CLI executable
We will have to create a binary file in your local users bin directory (/usr/local/bin). This directory contains all executable binaries that are specific to your user.
sudo sh -c 'echo python3 "$(python3 -m site --user-site)"/openai/_openai_scripts.py \$\@ > /usr/local/bin/openai'What this command does is the following:
- We get the path to the python site packages directory where all global python packages are installed to:
python3 -m site --user-site - We extend that path to map to the OpenAI CLI scripts Python script:
openai/_openai_scripts.py) - We then pipe this into a file in the
/usr/local/bindirectory to use it from anywhere as a shell command
The last thing we need to do now is to make that file executable:
sudo chmod +x /usr/local/bin/openaiThis should be it, you should now be able to run the OpenAI CLI from anywhere in your terminal.
You can test this by doing the following:
openai --helpWhich should return all available OpenAI CLI commands.
That’s it, if you have any questions or issues setting this up, feel free to leave a comment.
Happy building folks 🤖
This fixed my error! Thank you SOOOOO much!
danke schön! you saved my time!ich liebe deutschland
Thanks Dude!
Saved my time. Thanks man!
Awesome! Thanks for your help!
thanks very much for taking the time to post this.
Why amm I getting this
/Library/Python/3.8/lib/python/site-packages/openai/_openai_scripts.py’: [Errno 2] No such file or directory